Generate e-Invoice Online Using TallyPrime (KSA e-Invoice Integration Phase)
This topic contains the entire process of generating e-Invoices in TallyPrime along with the setup required for the same. You will also get to know how to use e-Invoicing reports in TallyPrime.
If your company or organisation is in the Kingdom of Saudi Arabia (KSA), then you must already be generating e-Invoices using TallyPrime and archiving them, as per the regulations by Zakat, Tax and Customs Authority (ZATCA) for e-Invoice Generation Phase 1. According to the latest communication from ZATCA, it is mandatory to integrate your e-Invoicing solution provider such as TallyPrime with the Fatoora portal or the e-Invoice System, so that you start generating e-Invoices online. The e-Invoice Integration Phase became effective from the 1st of January, 2023.
TallyPrime takes care of all your e-Invoicing requirements. All you need to do is register on the e-Invoice System or Fatoora portal and authenticate your organisation. With a valid Tally license, e-Invoice TCP, and VAT registration no., you have all the necessary details to create e-Invoice Login Credentials. You just have to fill up a Certificate Signing Request (CSR) form and generate an OTP on the e-Invoice System, and generate the e-Invoice Login Credentials. Thereafter, you can set up TallyPrime with all the e-Invoicing requirements such as Commercial Registration Number (CRN), Momrah License (MOM), MHRSD License, and others.
That’s it! You are all set to start creating e-Invoices for all the vouchers applicable for e-Invoicing.
This topic takes you through the entire procedure of e-Invoicing right from setting up TallyPrime, including all the information necessary to have in your Company for e-Invoice integration. You will also understand the information you need to enter under F11 (Company Features) along with the process of creating the e-Invoice Login Credentials. Furthermore, you will know the process of updating voucher types for seamless e-Invoicing.
Additionally, you will gain knowledge about the entire workflow of online e-Invoice generation or e-Invoice Integration Phase for a single e-Invoice and multiple e-Invoices, as needed.
What’s more, TallyPrime provides you with an e-Invoice report to gain information about the e-Invoice status of all the vouchers, so that you can take the necessary actions to generation e-Invoices.
TallyPrime Edit Log to track modifications in data for e-Invoicing
As per the guidelines by ZATCA, the vouchers for which e-Invoices are generated cannot be deleted or modified, and you cannot cancel them either. Modifications or changes need to be done only through the process of Credit/Debit note.
Tally KSA e-Invoice add-on has been designed to avoid accidental modifications or deletions of e-invoice generated transactions from the application. However, there may be several scenarios or ways in which your data can go through undesired modifications. If you are using TallyPrime Edit Log, then it will highlight the fact that there was a possible attempt of data tampering, if any such attempt has been done under any scenario. Detection of data tampering is guaranteed if you are using TallyPrime Edit Log.
Using TallyPrime Edit Log with Tally KSA e-Invoice add-on enables you to enforce a process for detection in case of any deviation. TallyPrime Edit Log is recommended as you can follow the process.
Set Up for e-Invoice Integration Phase
Setting up TallyPrime Edit Log for e-Invoice Integration Phase involves three major steps – specifying the necessary details in the Company, generating e-Invoice Login Credentials, and then specifying the e-Invoicing details under F11 (Company Features), as you enable e-Invoice Integration.
Specify necessary information in Company
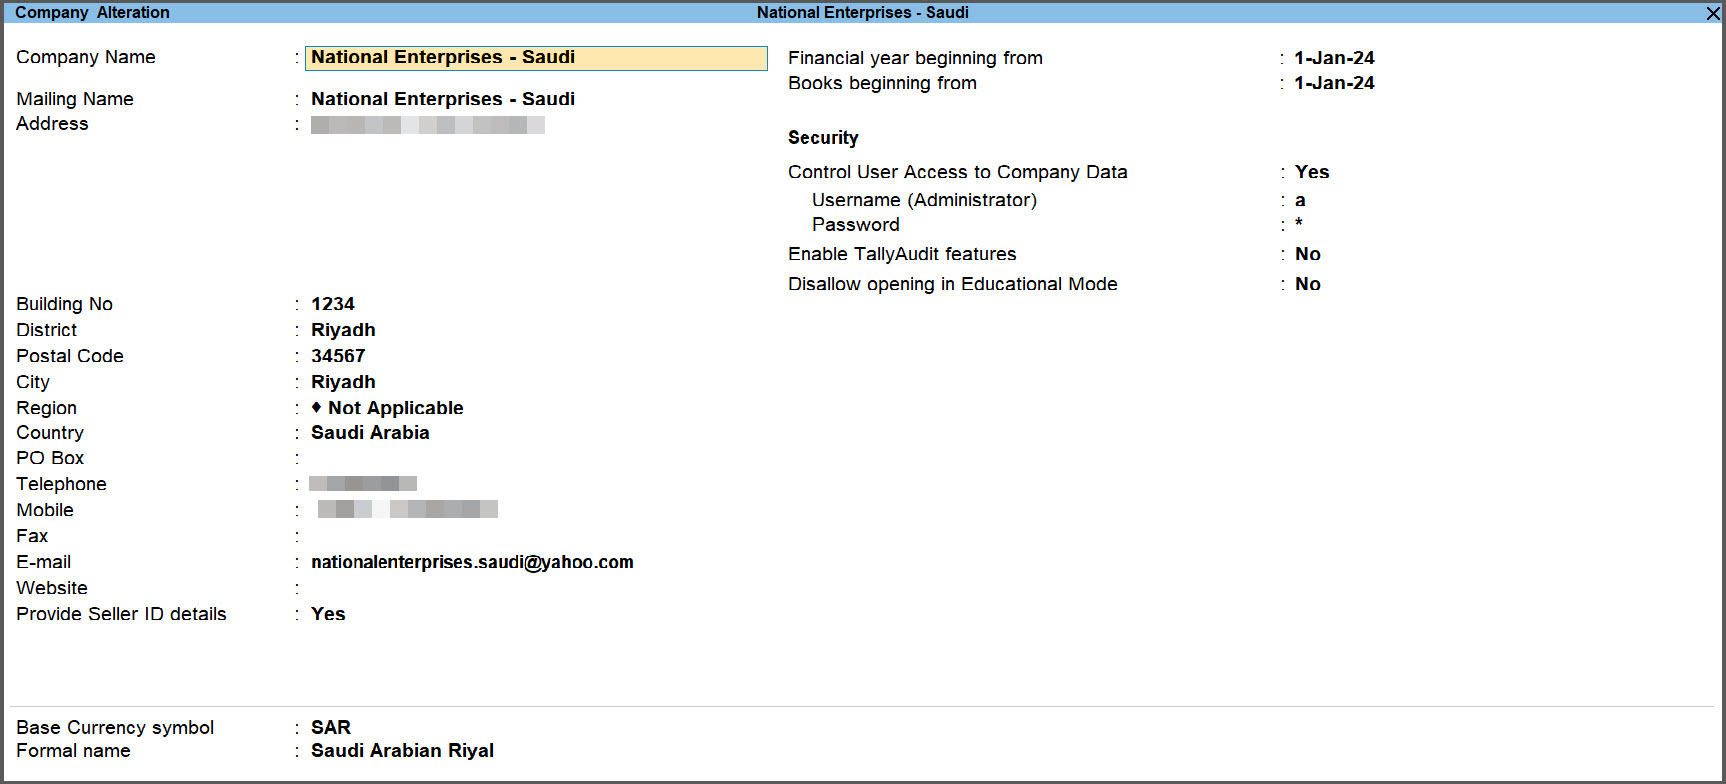
To start e-Invoicing for a Company, you will need to ensure that the information such as telephone number, mobile number, and e-mail ID is specified in the Company.
You can specify the information at the time of either Company creation or alteration.
- Press Alt+K (Company) > Alter and press Enter.
- Enter Address, Building No., District, Postal Code, and City.
- Specify Telephone, Mobile, and E-mail.
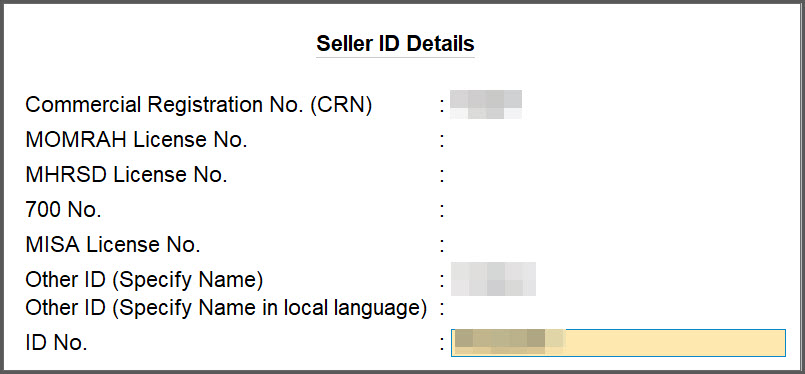
These details are necessary to generate or renew e-Invoice Login Credentials for your Company. - Set Provide Seller Details to Yes and press Enter.
In the Seller ID Details screen, specify any one ID out of the following:- Commercial Registration No. (CRN): The CRN is a 10-digit number that can be found in the top left corner of the commercial registration certificate.
- Momrah License No.: The identification number of the license provided by The Ministry of Municipal Rural Affairs and Housing.
- MLSD License No.: The identification number of the license provided by The Ministry of Labor and Social Development.
- MISA License No.: The identification number of the license provided by The Ministry of Investment.
- 700 No.: This is applicable if your Company is a defence institution or organization.
- Specify details of Other ID.
- Other ID (Specify Name): The name of Other ID such as Driving License, Passport, or other, as applicable.
- ID No.: The identification number of the Other ID.

Generate e-Invoice Login Credentials
Once you enable e-Invoice Integration Phase under F11 (Company Features), you can generate e-Invoice Login Credentials for e-Invoice integration.
Before you go on to generate e-Invoice Login Credentials for your Company, you need to have your e-Invoice System or Fatoora portal credentials ready. This is because you will need to generate an OTP on the Fatoora portal to generate e-Invoice Login Credentials in TallyPrime.
- Press F11 (Company Features) > set Enable Value Added Tax (VAT) to Yes and press Enter.
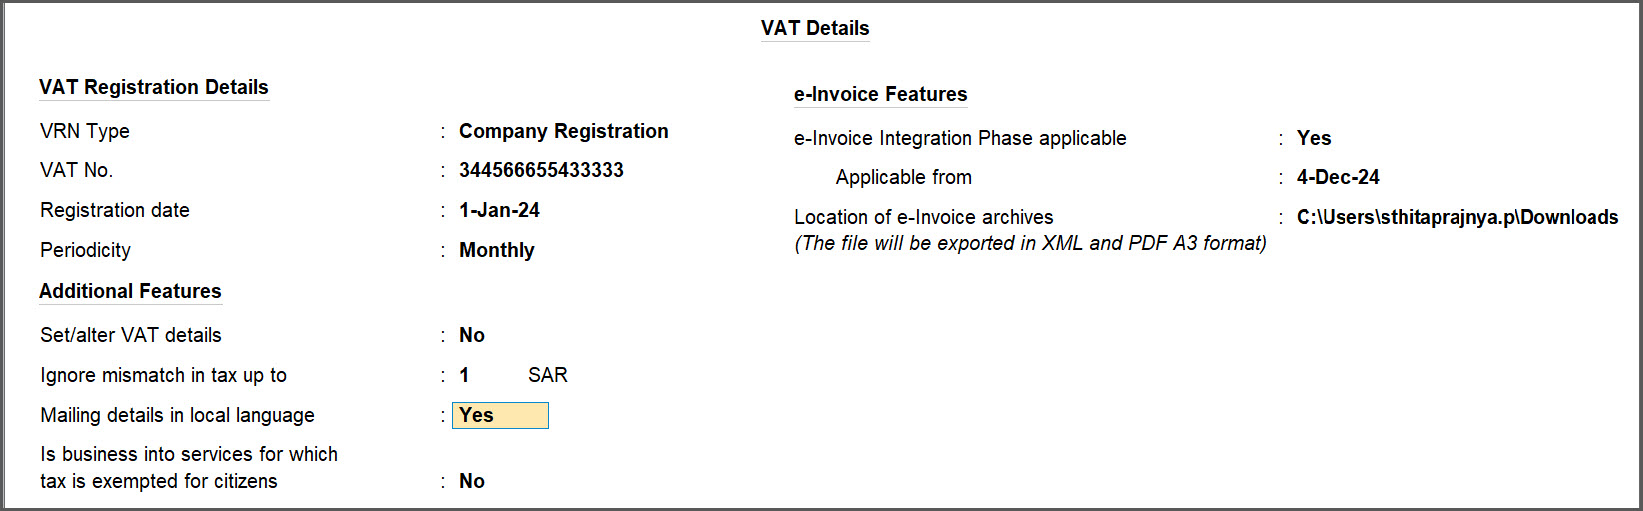
The VAT Details screen appears. - Specify the details related to VAT registration.
- VRN Type: Company Registration or Headquarter Registration, based on the registration of your Company.
- VAT No.: VAT registration number of your Company.
- Registration Date: Date on which your Company had registered for VAT.
- Periodicity: Periodicity of your VAT returns.
- Specify the applicability of e-Invoice Integration Phase.
- e-Invoice Integration Phase: Yes.
Once you enable e-Invoice Integration Phase, you cannot disable it. - Applicable from: The date from which e-Invoice Integration Phase is applicable to your Company.
- Press Enter.
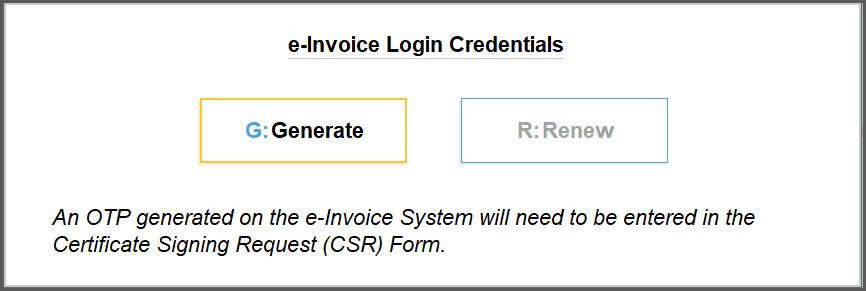
The e-Invoice Login Credentials screen appears.
- e-Invoice Integration Phase: Yes.
- Press G (Generate).
The Certificate Signing Request (CSR) Form appears.
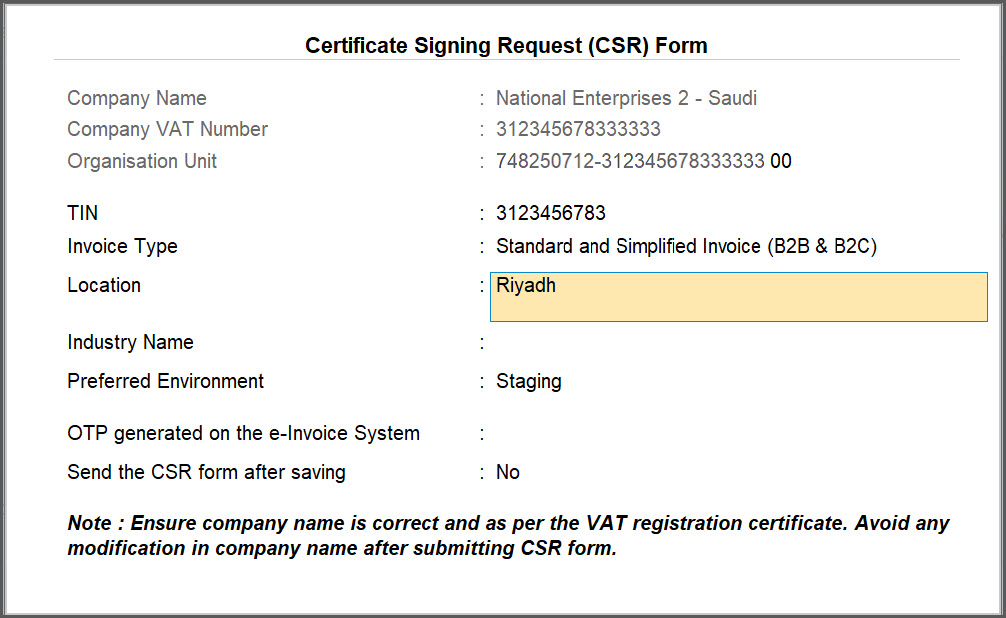
- Specify the details in the Certificate Signing Request (CSR) Form, as needed, apart from Company Name, Company VAT Number, Organisation Unit, which will be prefilled based on your Tally license details and VAT No.
- TIN: Taxpayer Identification Number, as per your VAT registration.
You can change it, if needed. - Select Invoice Type, as applicable.

- Simplified Invoice: If your Company has only B2C transactions.
- Standard Invoice: If your Company has only B2B transactions.
- Simplified and Standard Invoice: If your Company has B2C and B2B transactions.
- Location: Mention the location of your company.
- Industry Name: The name of your industry, such as Automobile, Oil & Gas, or other, as applicable.
- TIN: Taxpayer Identification Number, as per your VAT registration.
- Generate an OTP on the e-Invoice System and enter it inthe OTP field.
- Log in to the e-Invoice System or Fatoora portal and generate an OTP.
If you are not logged in to the e-Invoice System and want to generate e-Invoice Login credentials later, then you can press Ctrl+A to save the details. - Enter the OTP and press Enter.
The CSR Form with all the necessary details appears as shown below:
- Log in to the e-Invoice System or Fatoora portal and generate an OTP.
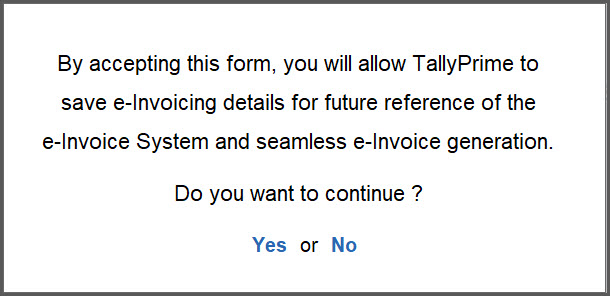
- Send the CSR Form after saving: Yes.

- Press Y or select Yes to continue.

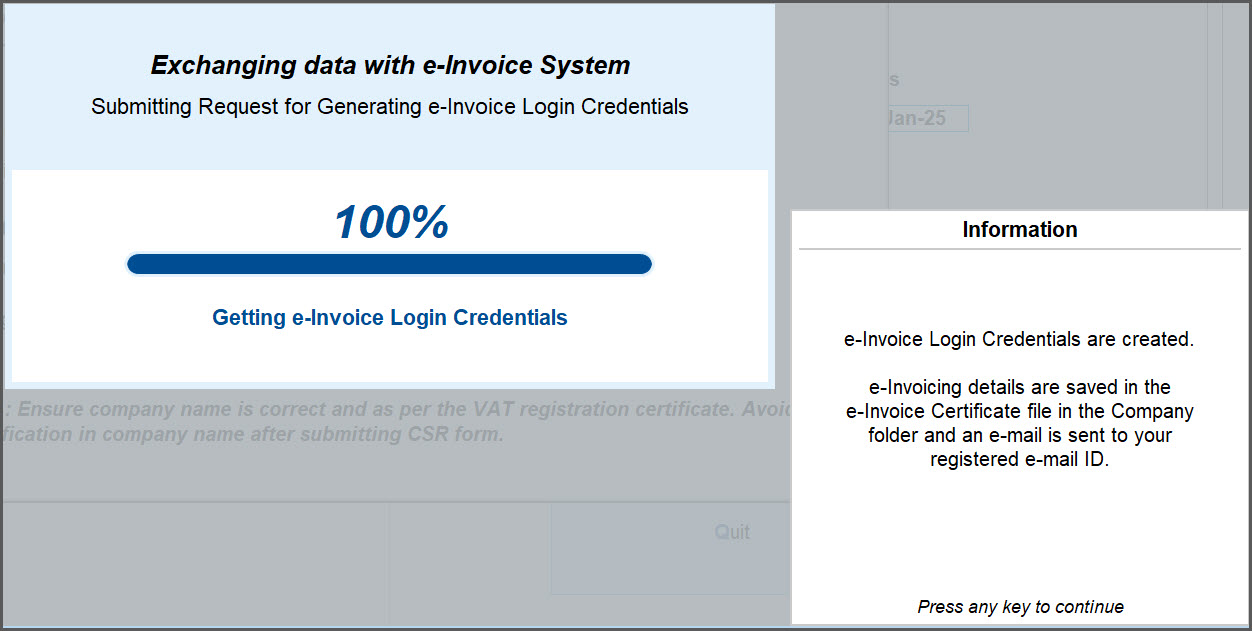
Once the e-Invoice Login credentials are generated, you will receive an e-mail on your e-mail ID that is mentioned in the company creation/alteration screen. You will also receive an e-Invoice Certificate, which gets stored in your Company folder.
- After generating credentials, you will be redirected to the VAT Details screen, where you can provide e-Invoice archive path to automatically save PDF of A3 size after successful generation of e-Invoice.


Provide mailing details in local language
![]()
Now, to provide the mailing details of the company in the local language:
- Open TallyPrime and press F11 (Company Features).
- Set Enable Value Added Tax (VAT) to Yes and press Enter.
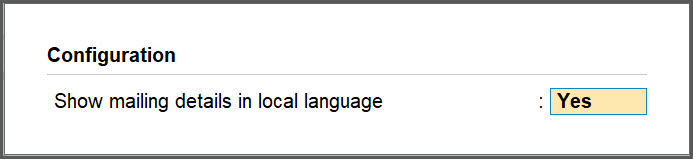
- In the VAT Details screen, press F12 (Configure).
- In the Configuration screen, set Show mailing details in local language to Yes.

- Set Mailing details in local language to Yes.

- In the Primary Mailing Details screen, enter the name of the company and mailing details in Arabic.

- Press Ctrl+A to save.
If you have multiple addresses, press F11 (Company Features) > Enable multiple addresses and provide relevant details.
Was this article helpful?
That’s Great!
Thank you for your feedback
Sorry! We couldn't be helpful
Thank you for your feedback
Feedback sent
We appreciate your effort and will try to fix the article